Week 08-09 - Self-initiated Project
....04.19
Project plan - sort of..
1) Introduction: What is your project about? Which fascination sparked it?
My project is about illuminating how one of the core elements of cosiness, the drowsy flickering candle, is also a serial killer creating up 60% of the
ultra small particles in the air. The outcome shall be a device that makes you notice when it's time for you to air out.�Why? Because having just three candles burning in a small house makes the indoor climate - particlewise - equal to the one at major junctions in Copenhagen.
2) Goal of the project: what is the project meant to achieve? (awareness of something, a new or different perspective on a topic, a material exploration, a catalogue of techniques, a tutorial, a new evocative aesthetic experience, other)
Creating awareness for the owner about when to air out and critique the environment of 'hygge' and the contradictions it contains health-wise.
3) Relevance: why is this project important to other people who might read about it? What might other people learn from your project and documentation?
To nuance the (not always) beneficial outcome of (a) hygge(-environment)
4) Context: which other projects are related to this idea? Where do you get inspiration from? (include at least 3 references with NAME, TITLE, YEAR of project and WEBLINKS if applicable.
- Kaitera by Origin Technologies 2015; Commercial product that is capable of measuring air quality https://kaiterra.com/blog/3-types-particle-detectors-see-invisible/
- The EveryAware Sensor Box, 2014; project that would cover the air quality within the European homes. 600.000 Europeans die from air pollution every year. http://www.everyaware.eu/wp-content/uploads/2013/10/SensorBoxTechnicalSpecs.pdf
- A research made by the Technical University of Denmark, 2013, stating that up to 60% of the air pollution with ultrafine particles within the Danish homes come from candles. https://pubs.acs.org/doi/abs/10.1021/es402429h
5) Expected outcomes: what do you intend to deliver at the end of the project?
A device capable of measuring and showing when you need to air out -> possibly in the sharp/combination with a lamp creating 'hygge'
6) Activities and planning: list the activities you will undertake, and describe when you plan to do what for the duration of the project.
25-26/03
- General research on topich
- Technical breakdown: what parts do I need?
- Ordering electronic components
- Brainstorm upon whole concept and sketch final design roughly
27-29/03
- Make final design more tangible
- Test electronic components and make both sensor and actuator work
01-03/04
- Make body components and assemble
05/04
- Make process book on hotglue and fix loose ends
7) Foundational skills and knowledge: state the knowledge and skills you already have that will help you do this project on your own. List at least 2 tutorials you found that will help you get started.
Stubbornness, curiosity, a minor understanding of how electronics works and being good at conceptualising.
Don't have any tutorials.
8) Learning goals: which new skills do you need to learn to make this project successful? What kind of person might be a useful sparring partner in that?
- Learning goals: Get the hang of coding
- Usefull sparring :Person on mentally same wavelength who is willing to put time an effort into helping rather than explaining/solving problems quick but without me understanding.
9) Support: what kind of support will you need? Is that support available?
- Moral support. Yes.
10) Materials: which materials do you expect to use? Where will you get them? What's the cost? Are they the most sustainable option available?
Sensors and actuator: http://www.rotor.eu/en/ or web shops
Body : unknown
Status the 26st of March concerning my self-initiated project: things turn out pretty smooth so far (7-9-13)
I got my the PM2,5 particle measuring sensor up running ✓
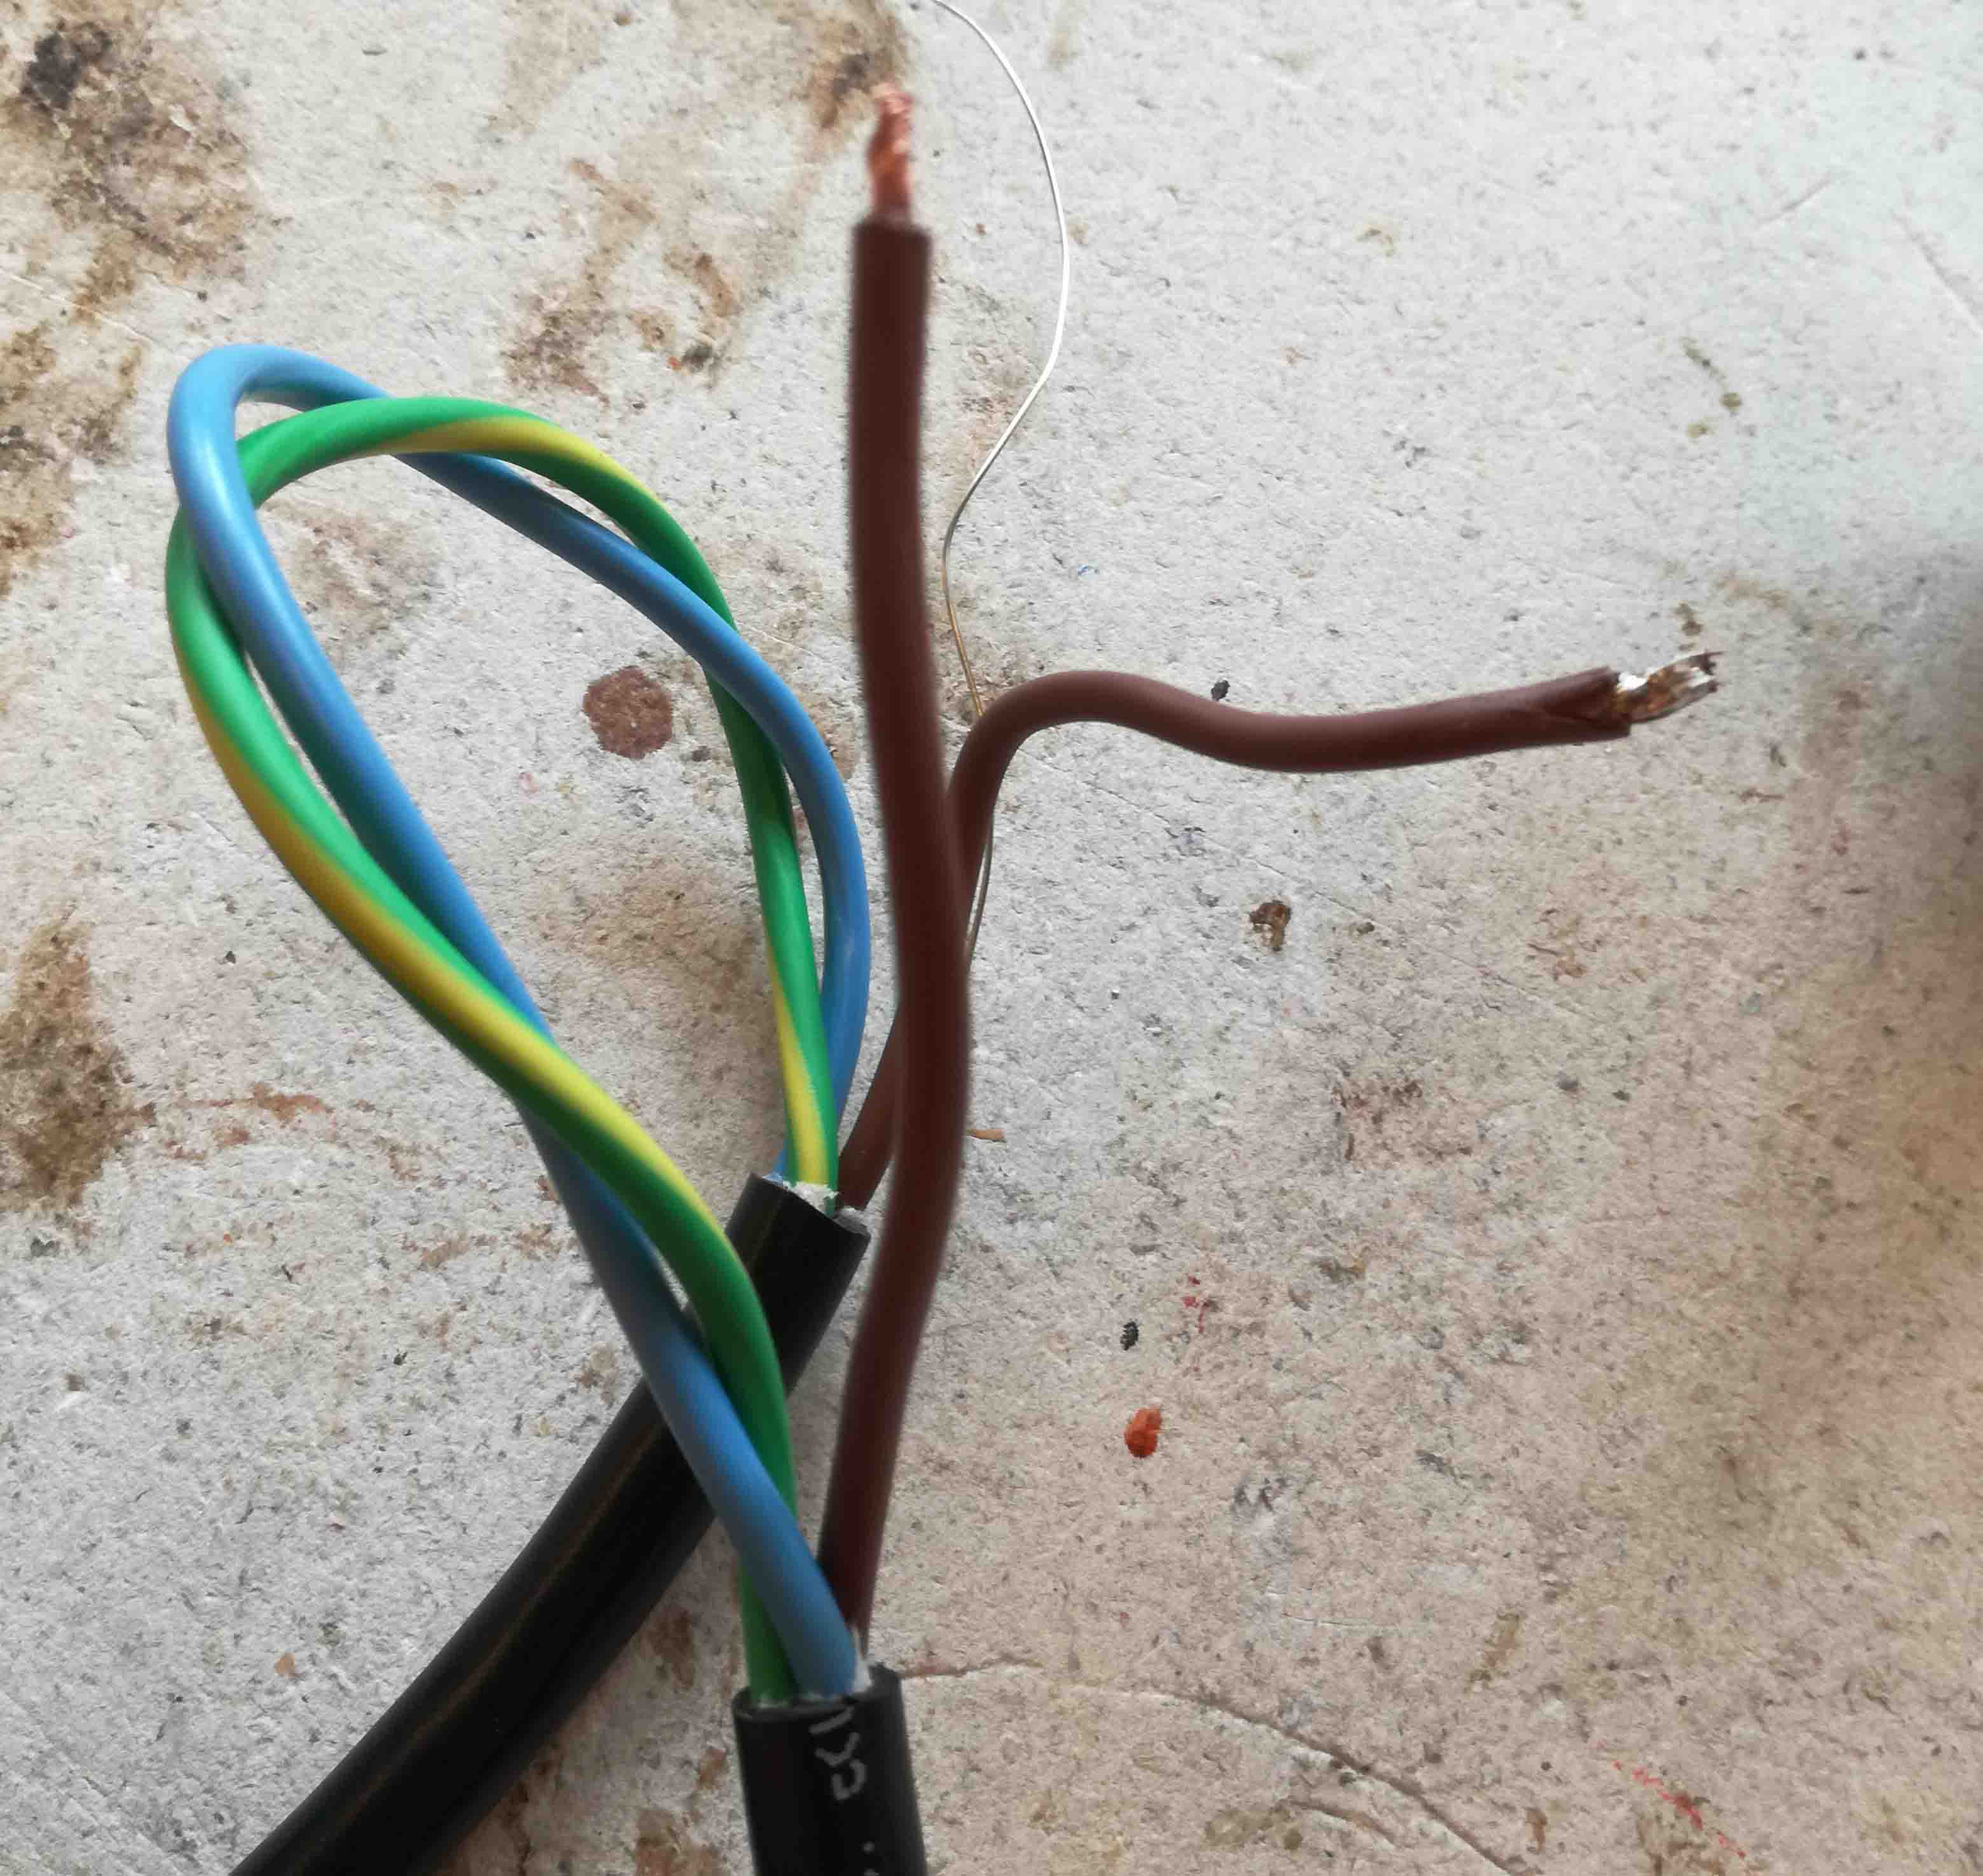
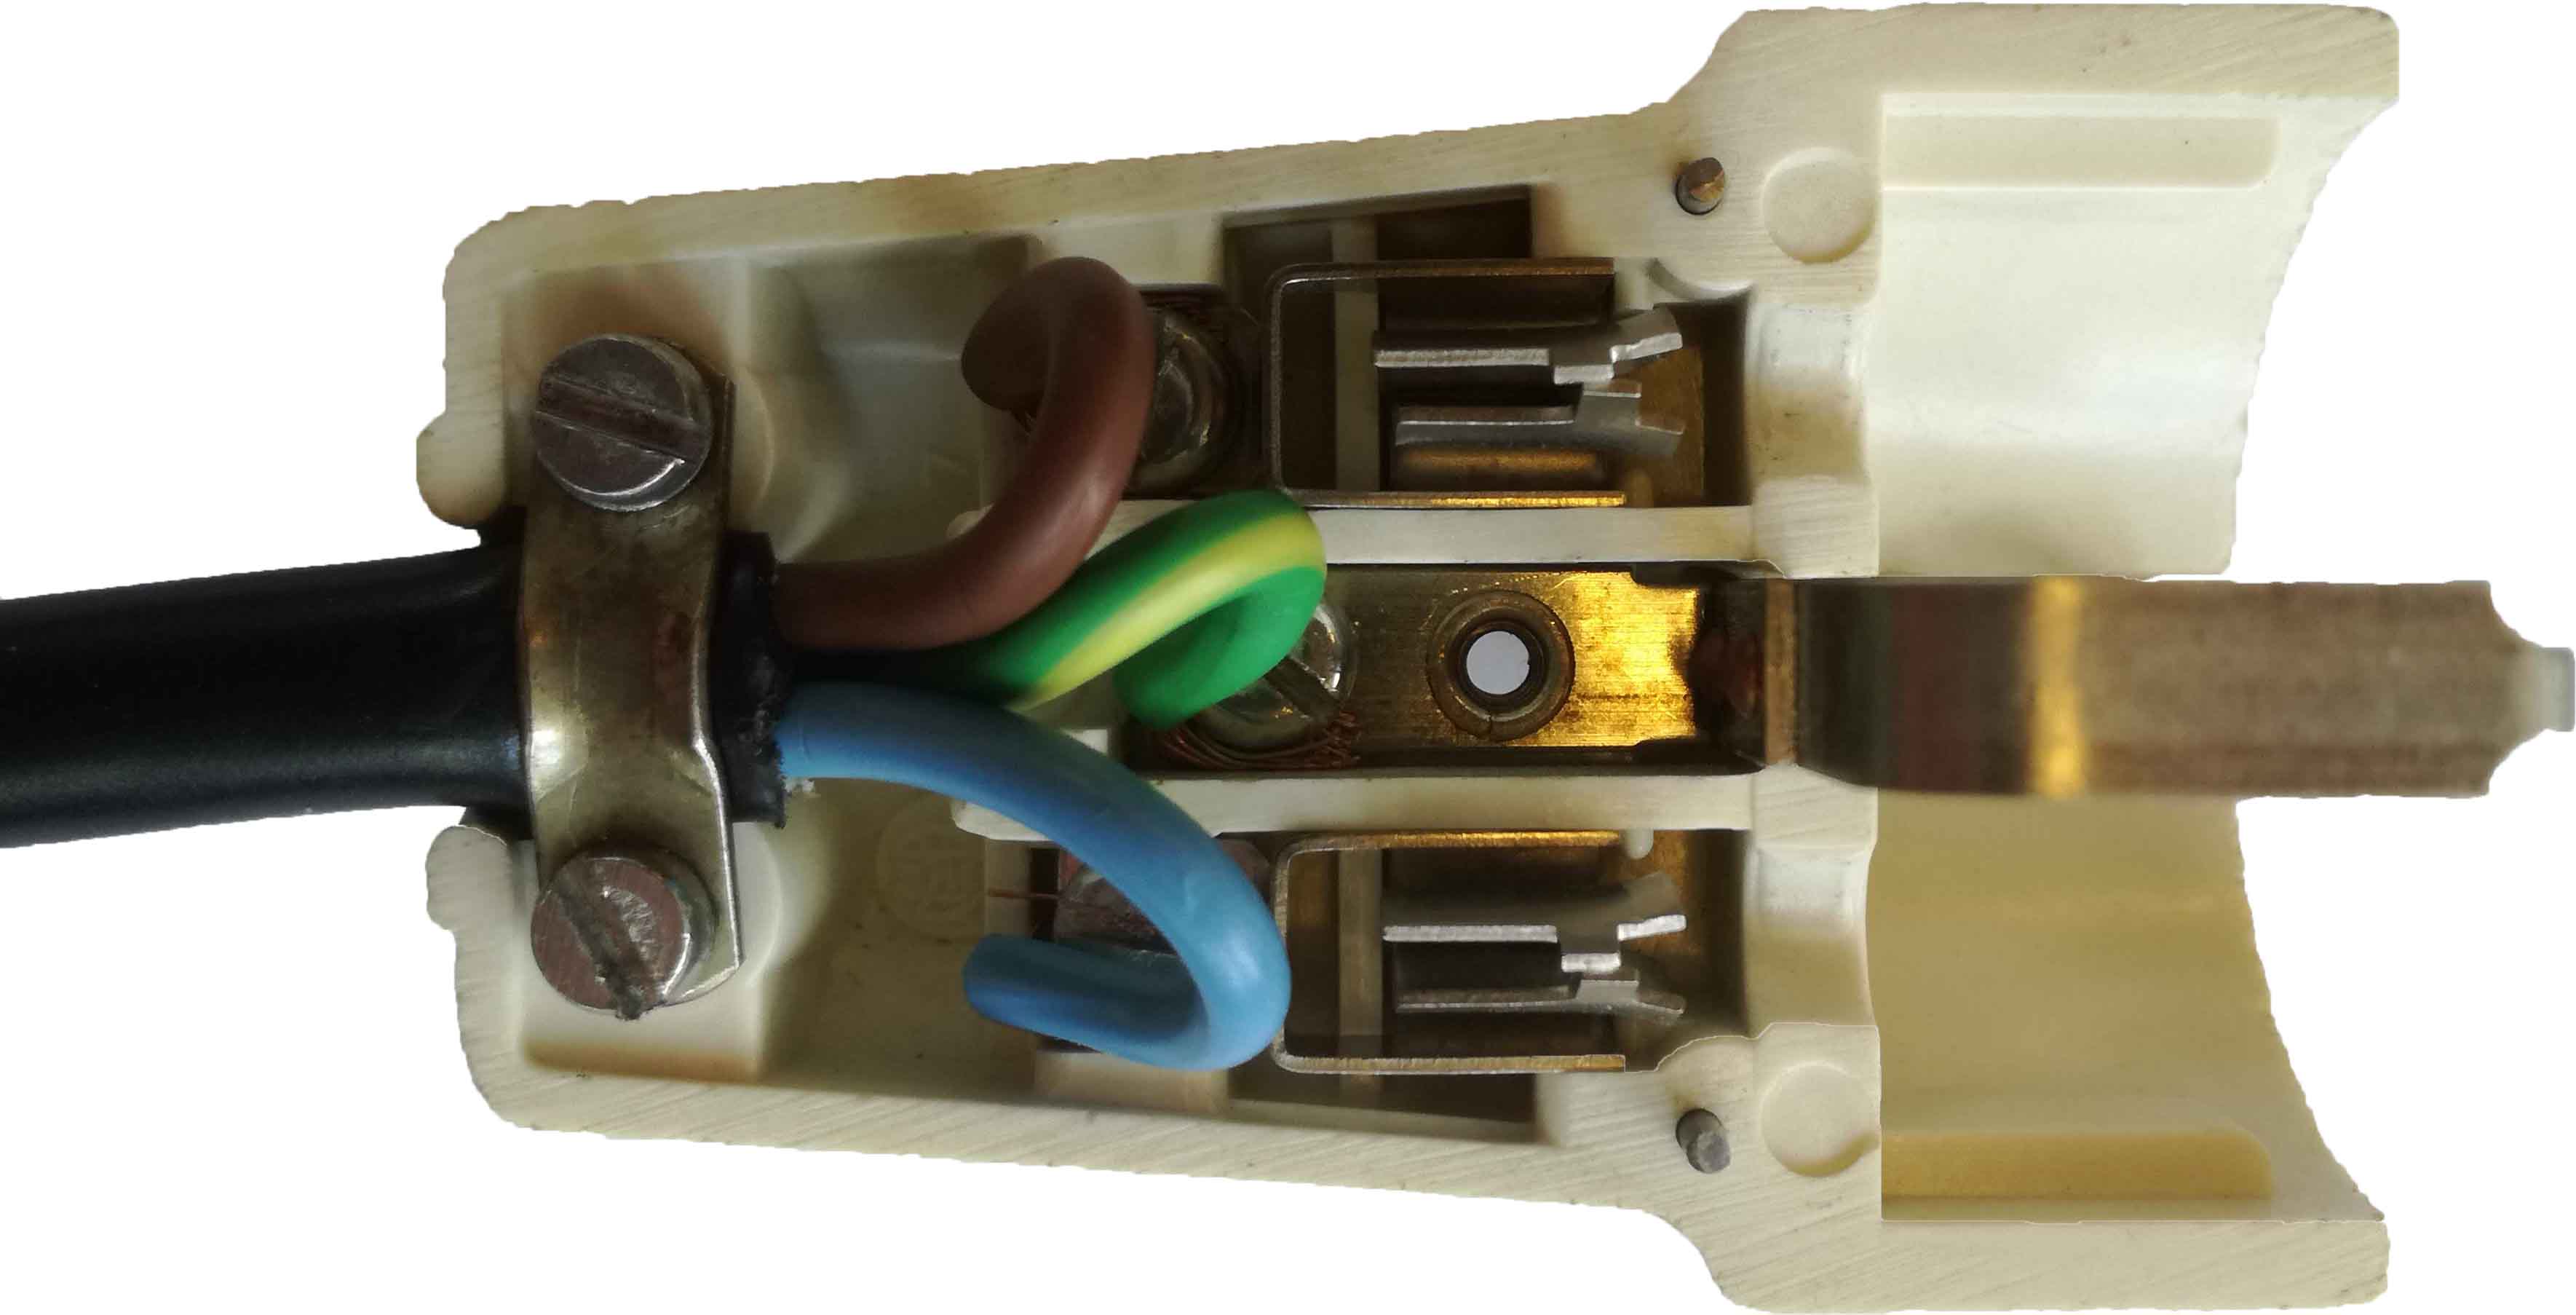
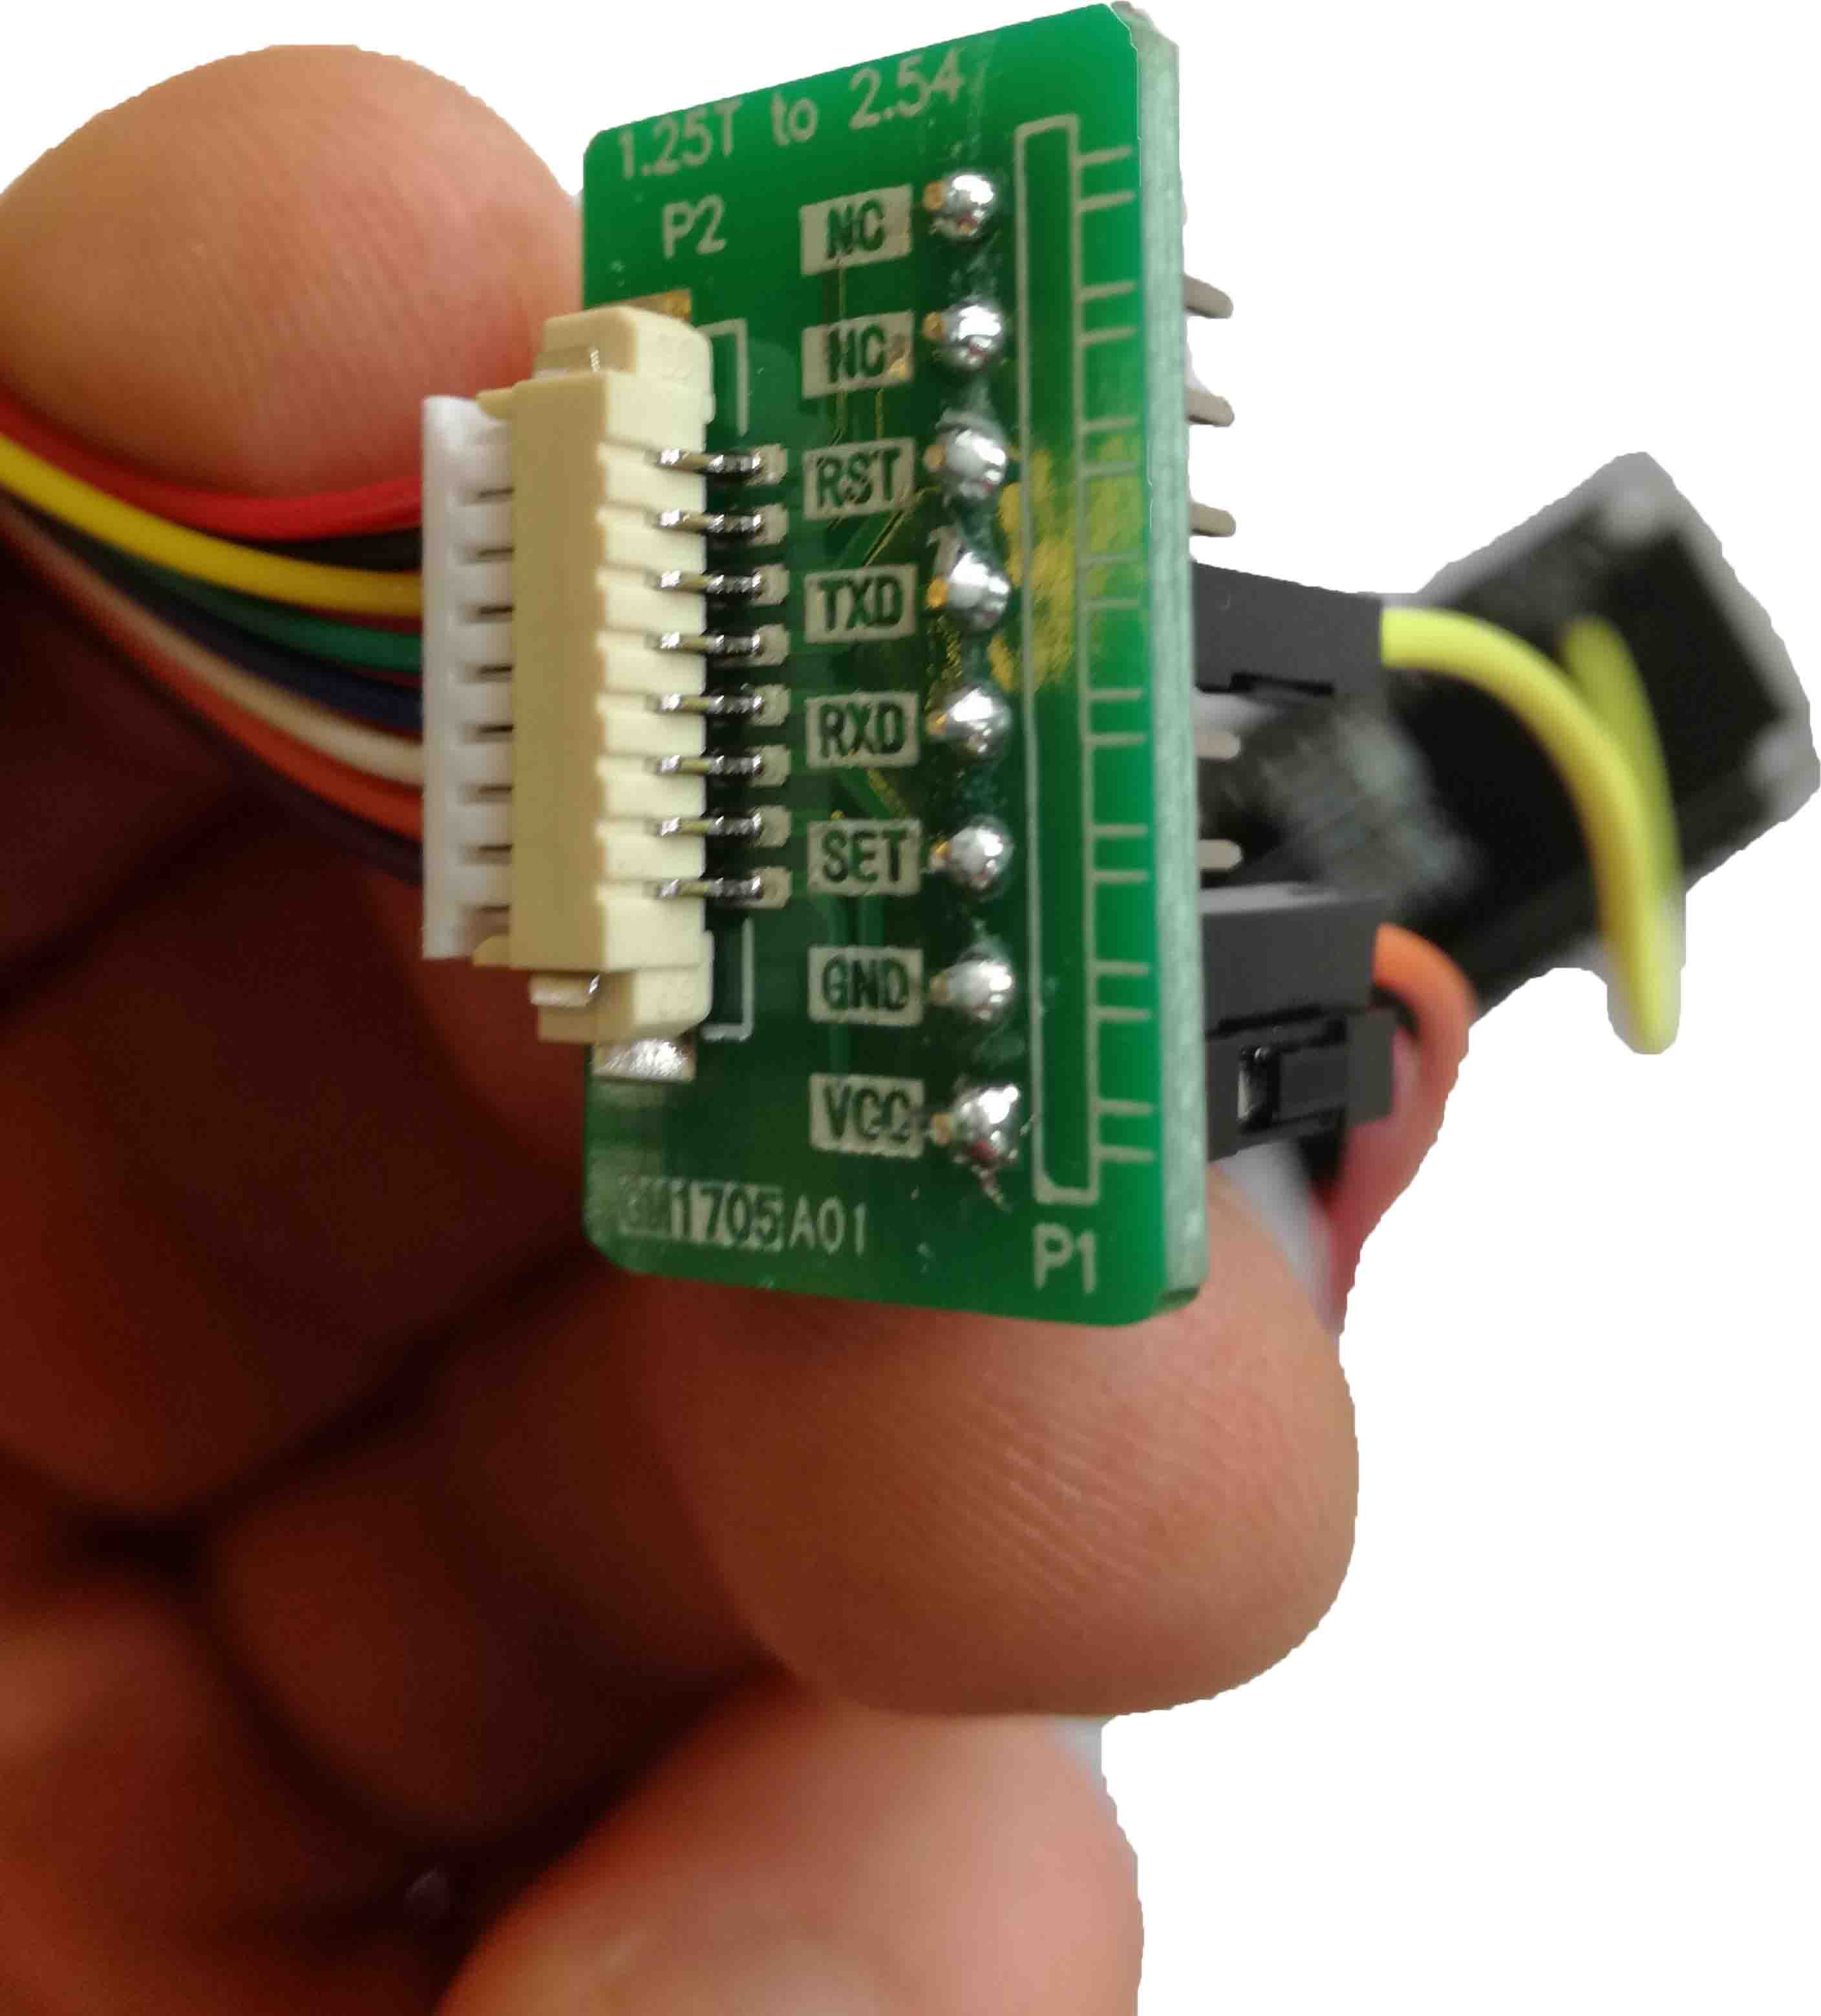
I have made the 230V cord with power plugs in both ends and an attached relay that goes into the PCB board ✓
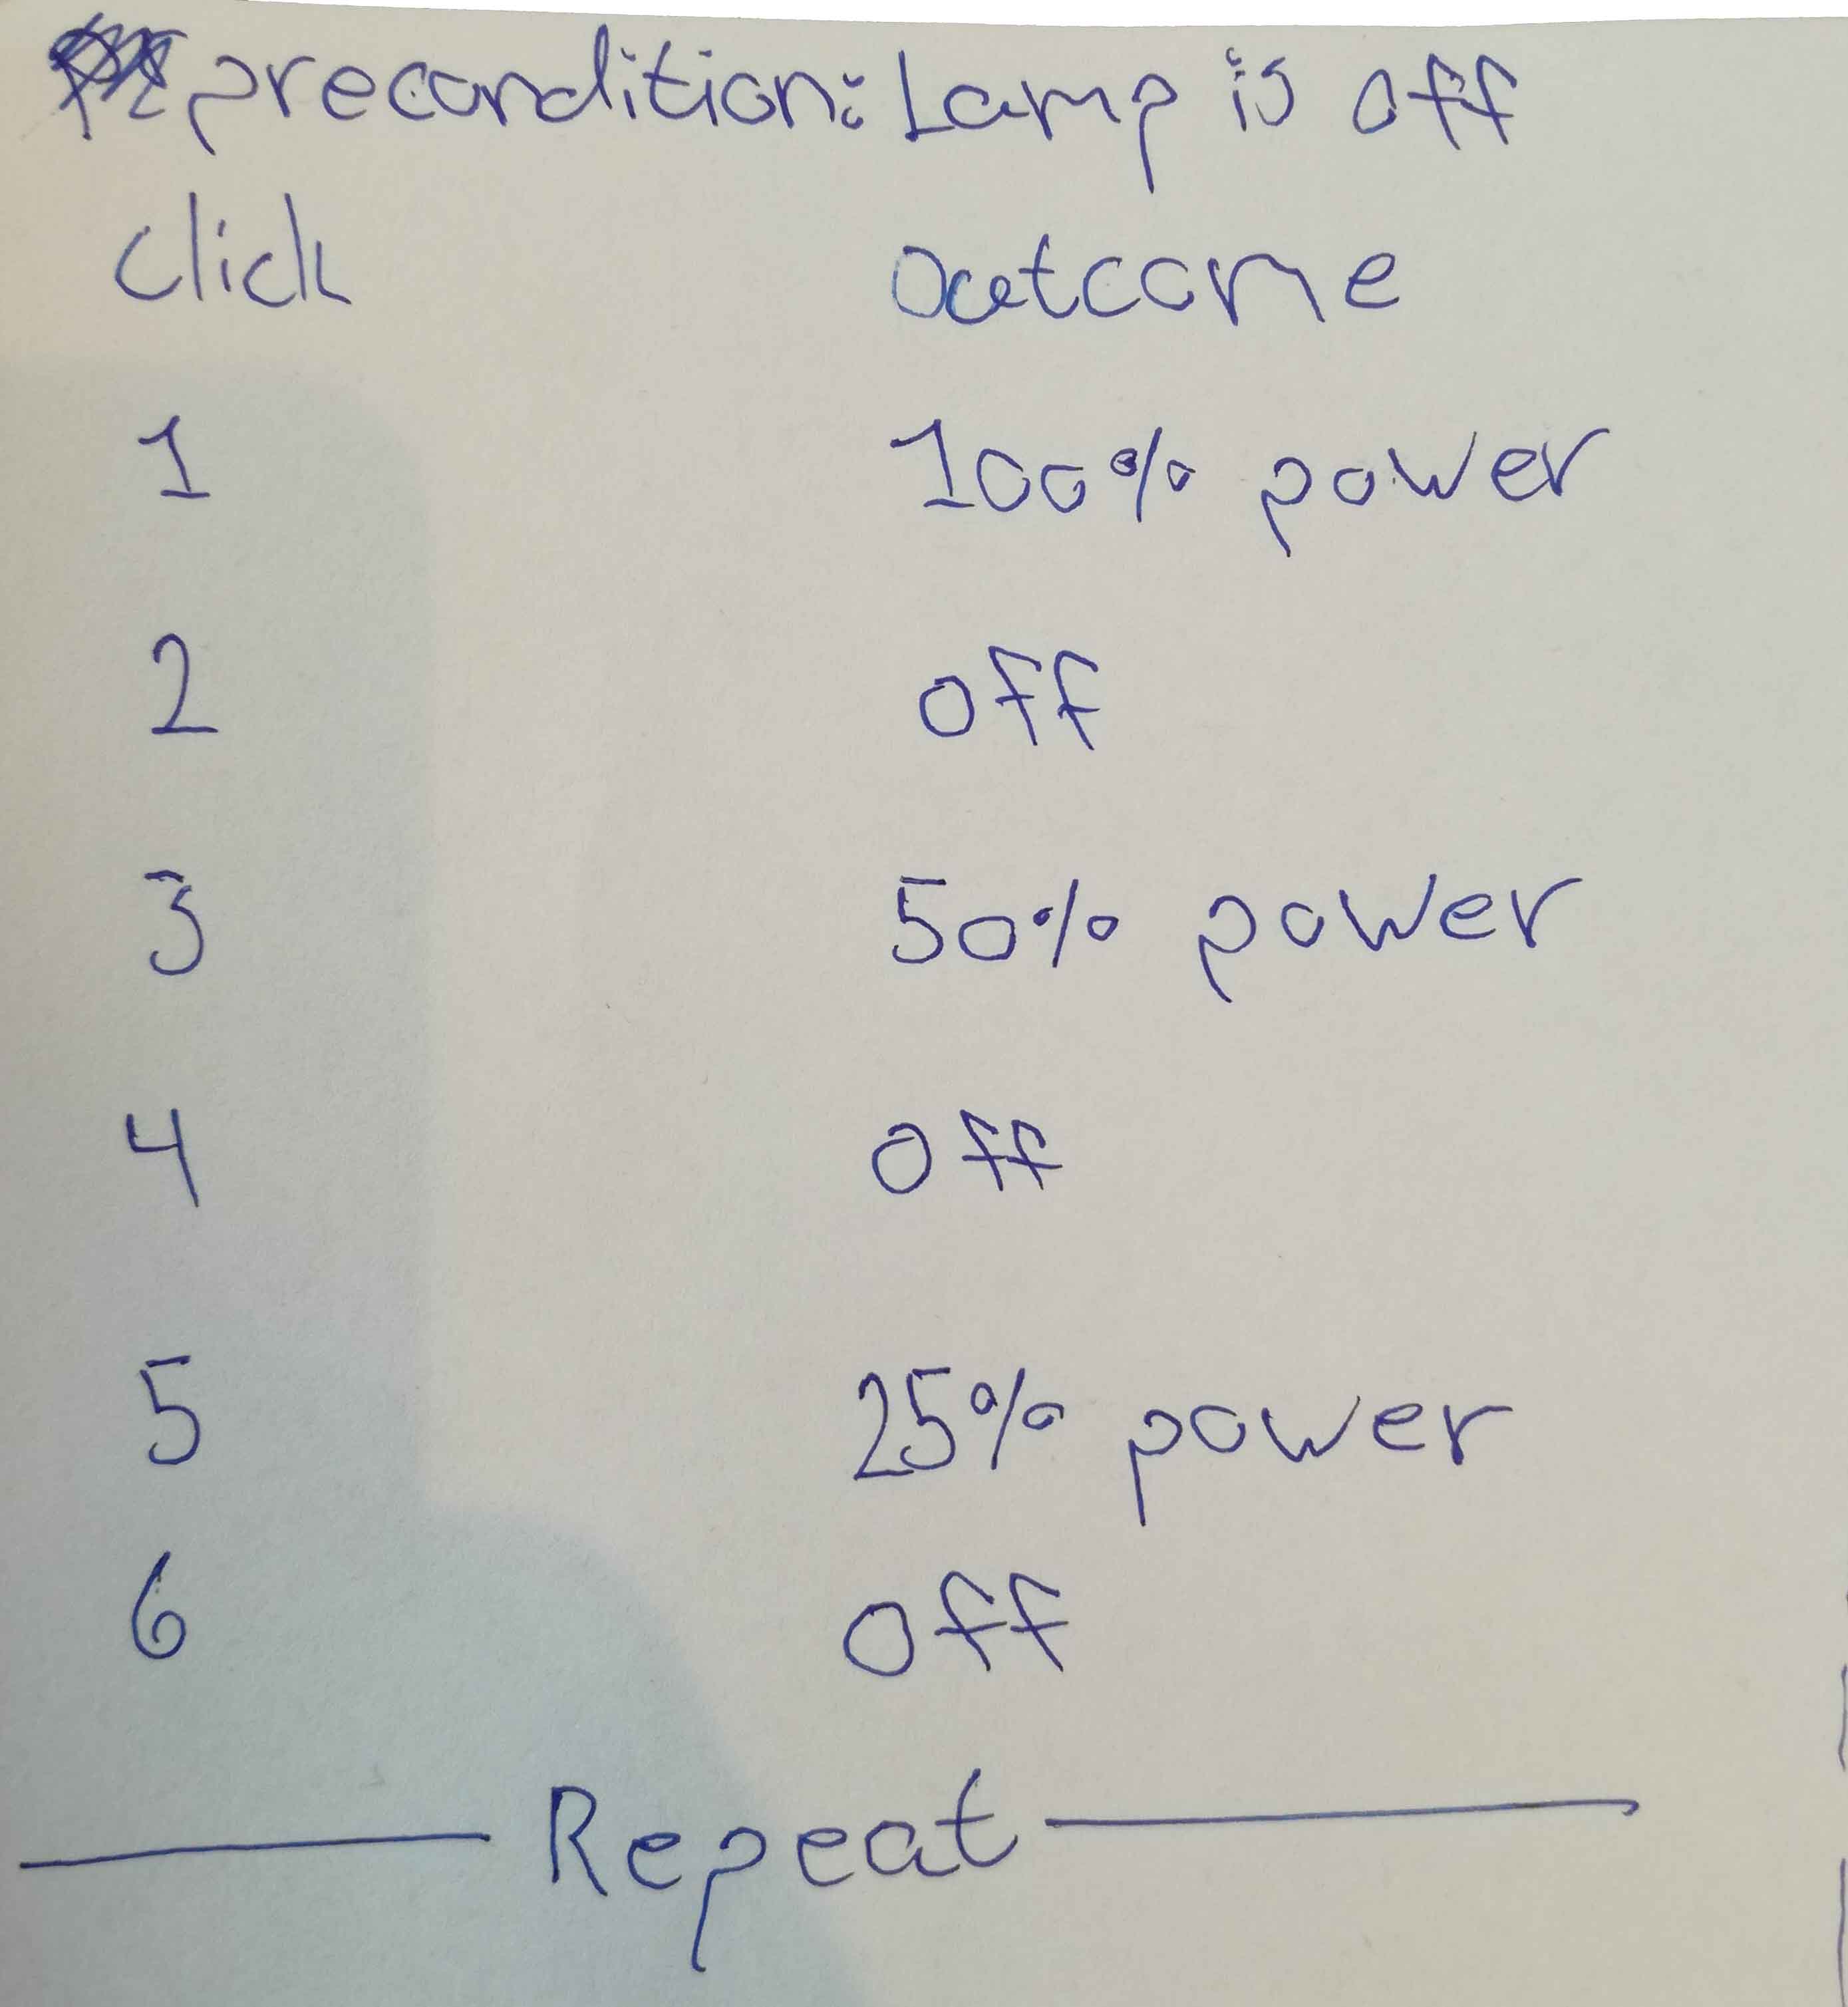
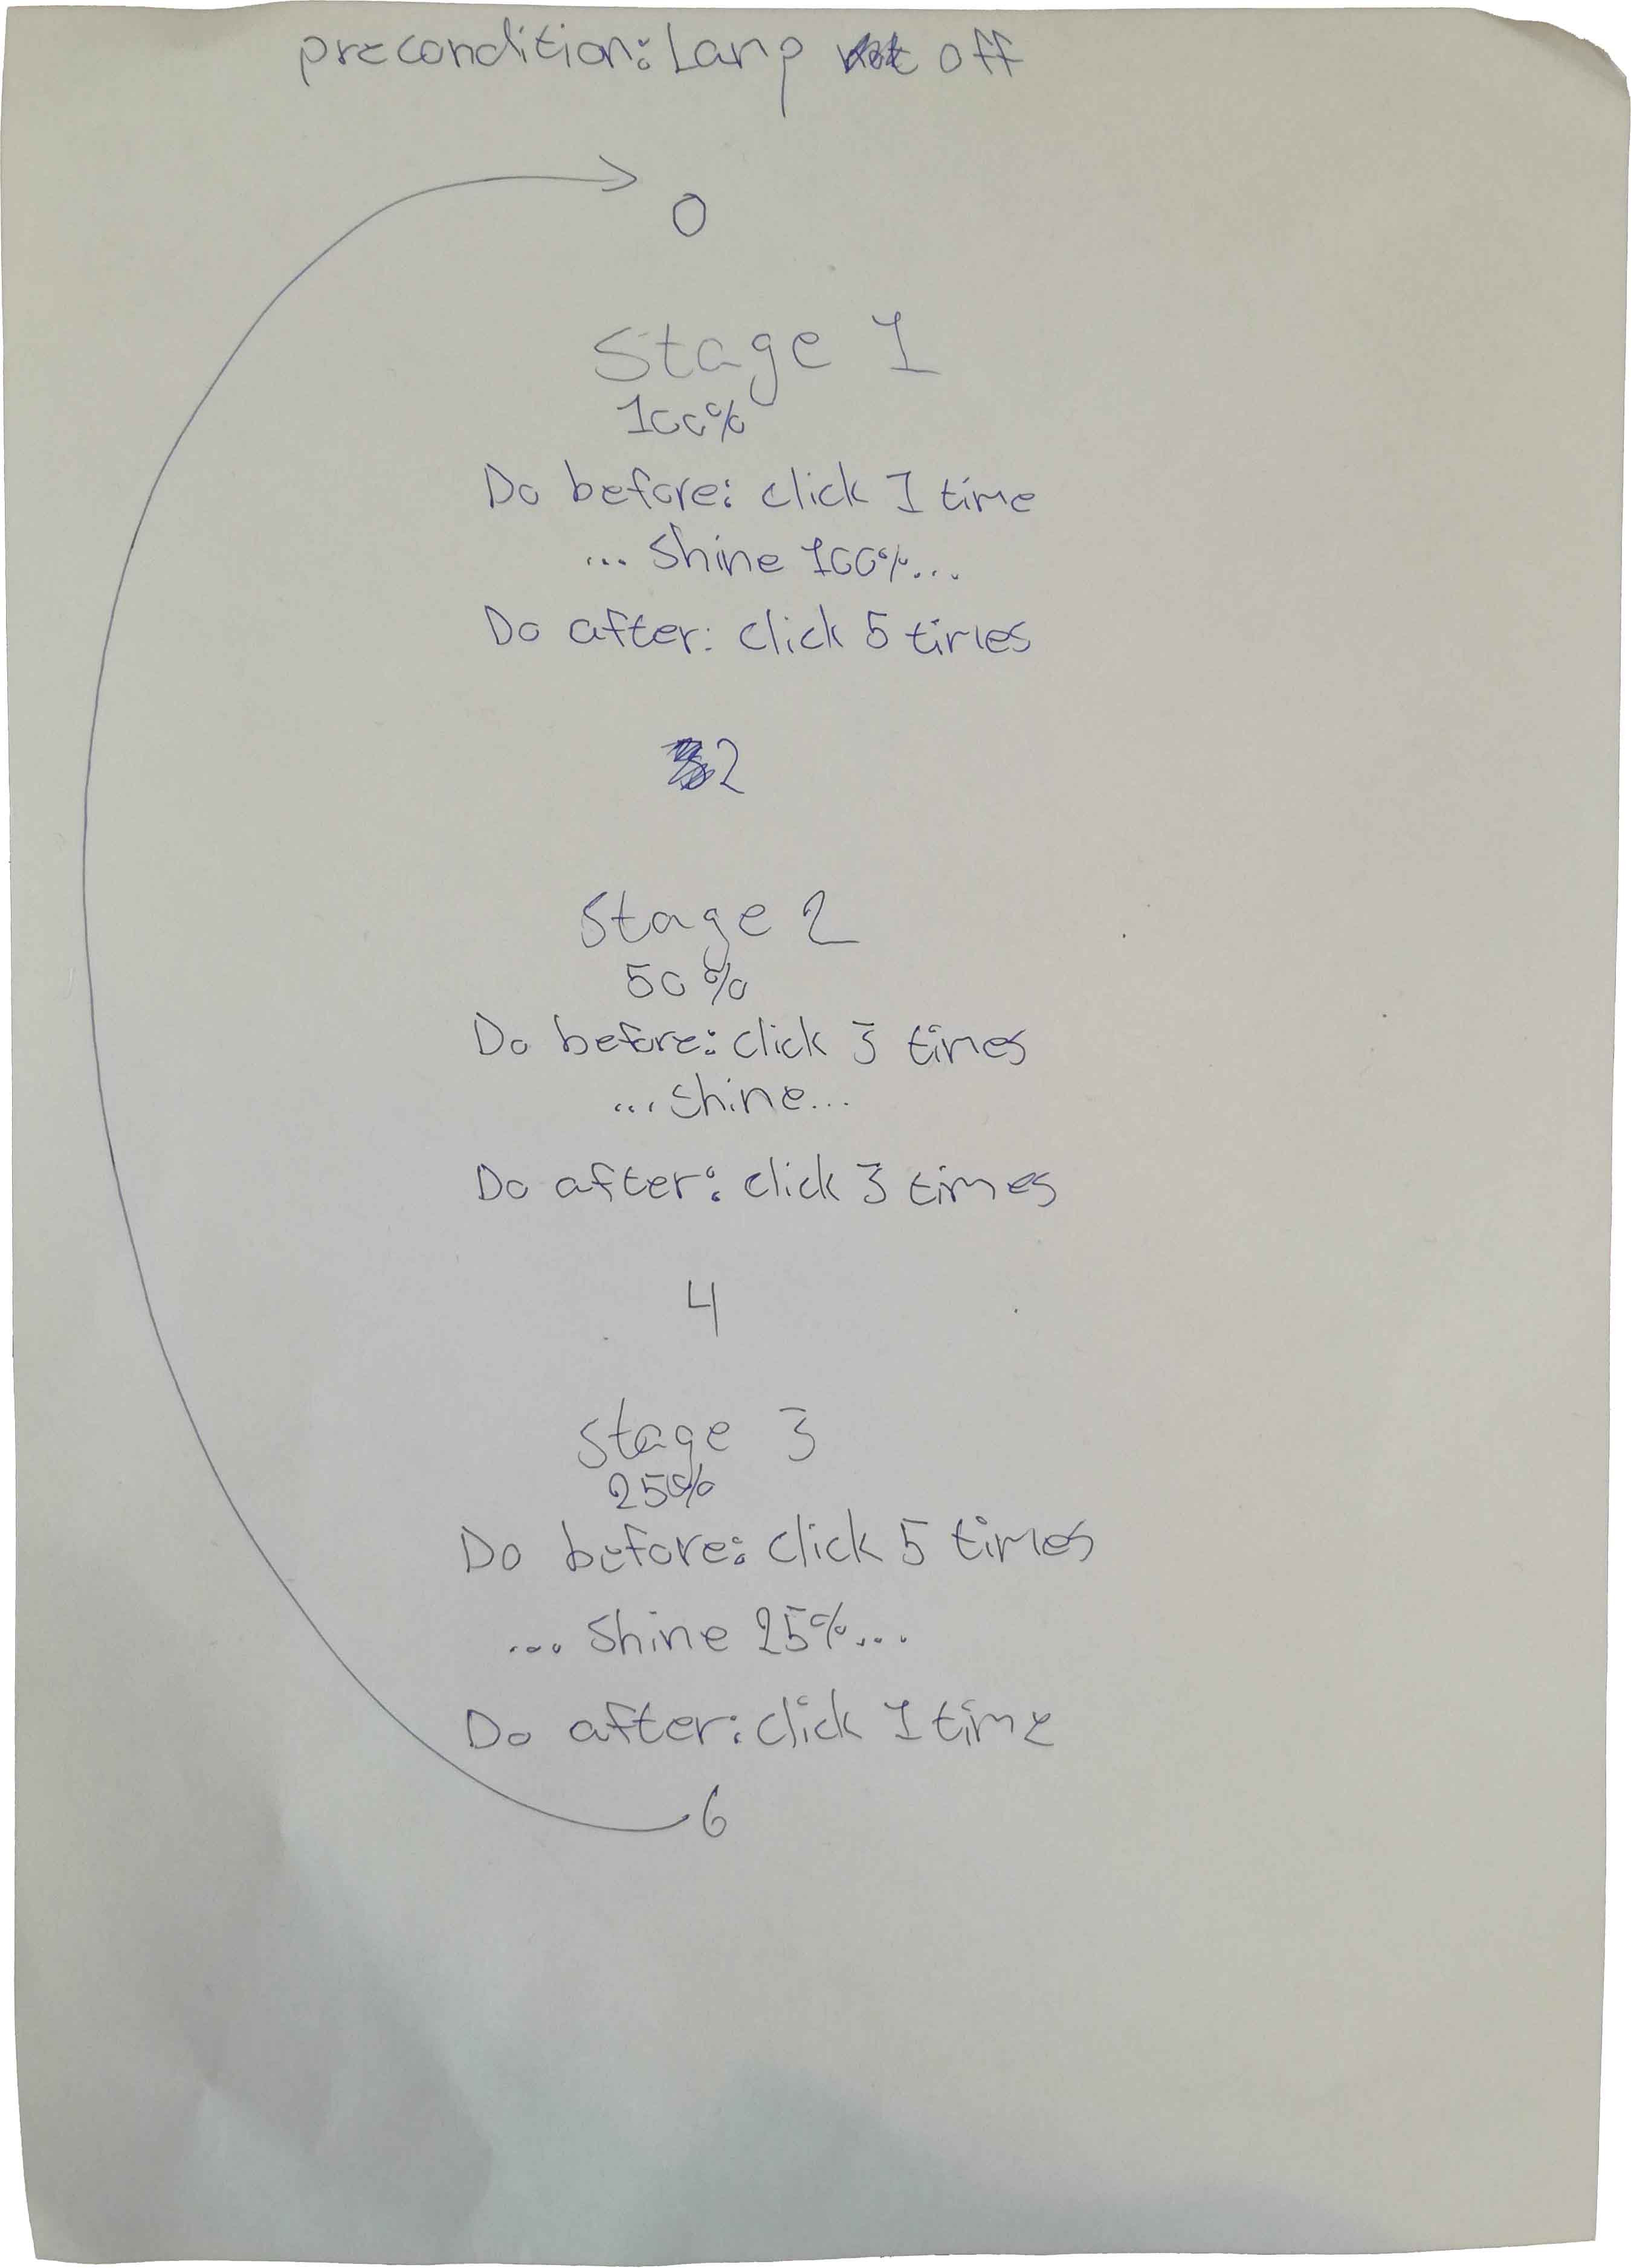
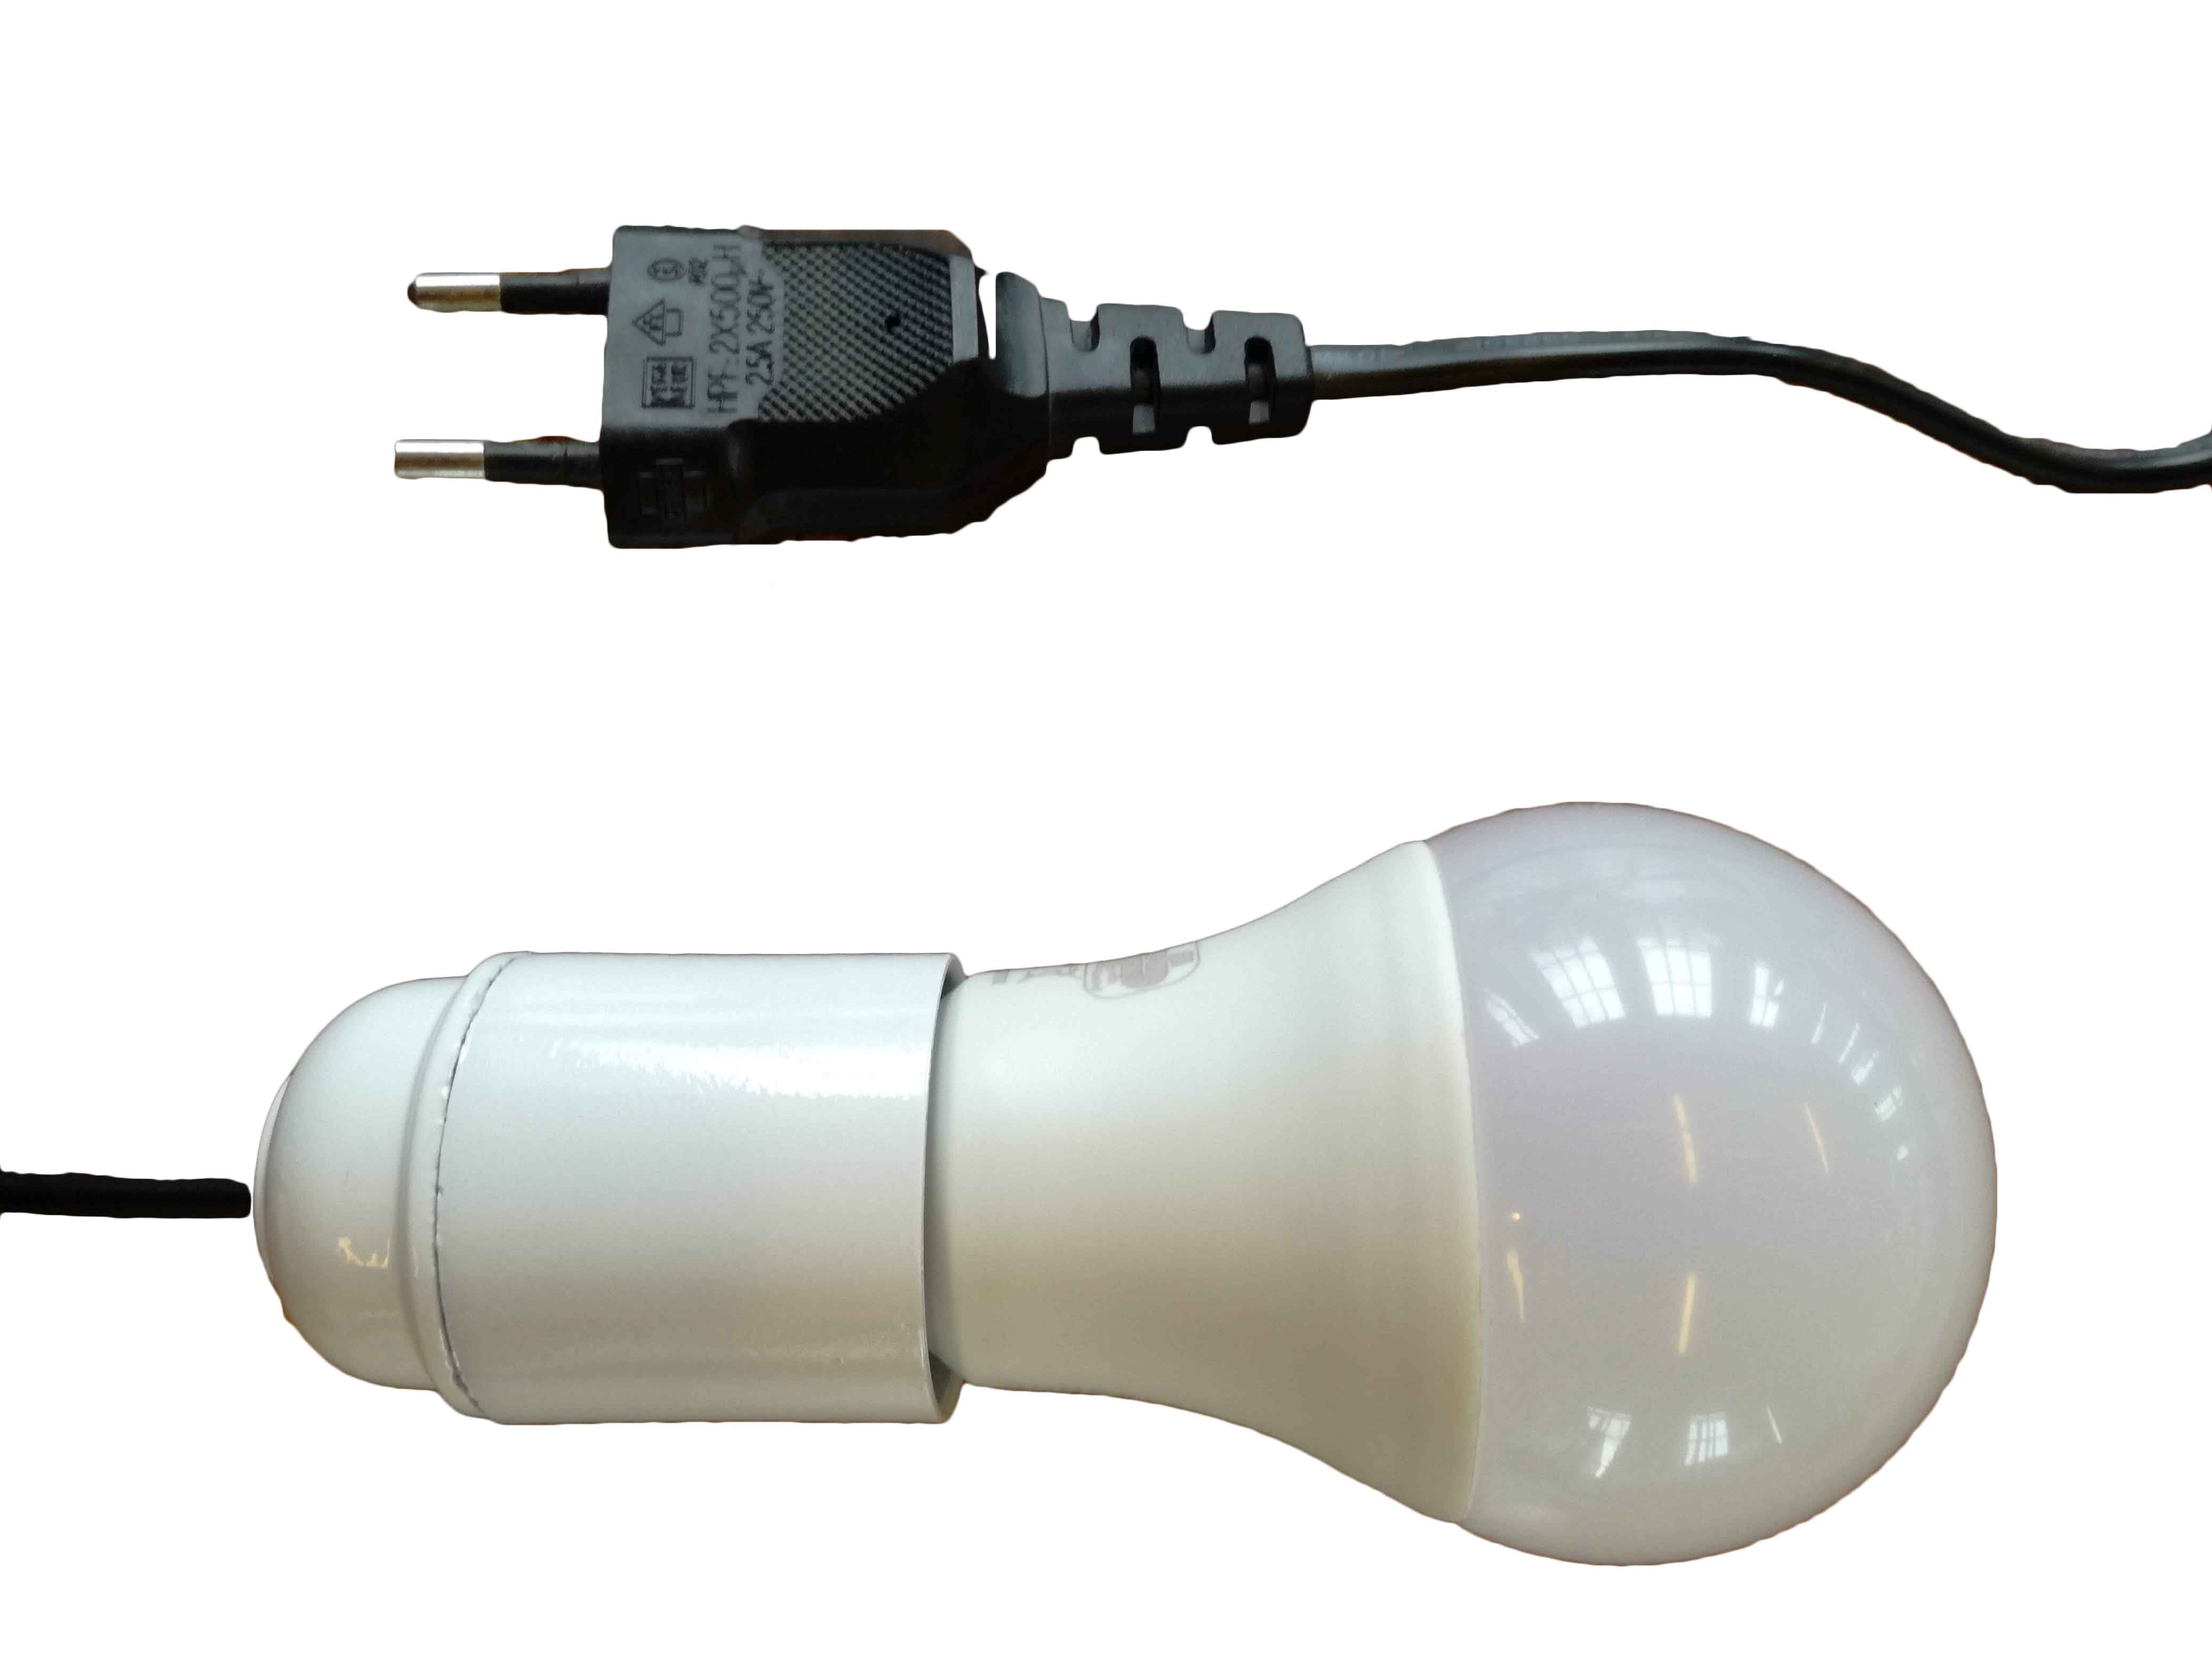
Well, I have looked a lot into the sizes of the particles and their mass and have calculated the proportions between the three most present sizes of particles. What I now need is to use this information to tricker the relay to turn on/off the 230v plug. What complicates things is the use of this otherwise universal 230V plug. Originally I thought of building my own lamp to plug in. Since it would be to much of a mouthful i scaled down the project to making a universal output. I have just come across certain light bulbs from Philips called "Scene Switch". They can shine with either 100, 40 or 10% power trickered by turning them on/off. You simply replace the light bulb in your favorite lamp and if you turn the lamp on-off-on and then the ligh bulb shines a little less. When done three times the light bulb ones again shines with full power. When turned of for more than 6 seconds, the lightbulb 'remembers' the last setting and will shine with that specific power when turned on again.
My task is know to make a code for the PCB-board in Arduino that can switch between these 3 stages (and maybe even a fourth = turn off the light) via the releay but within the limitations of the Scene Switch.
A slight change of plans
What now?
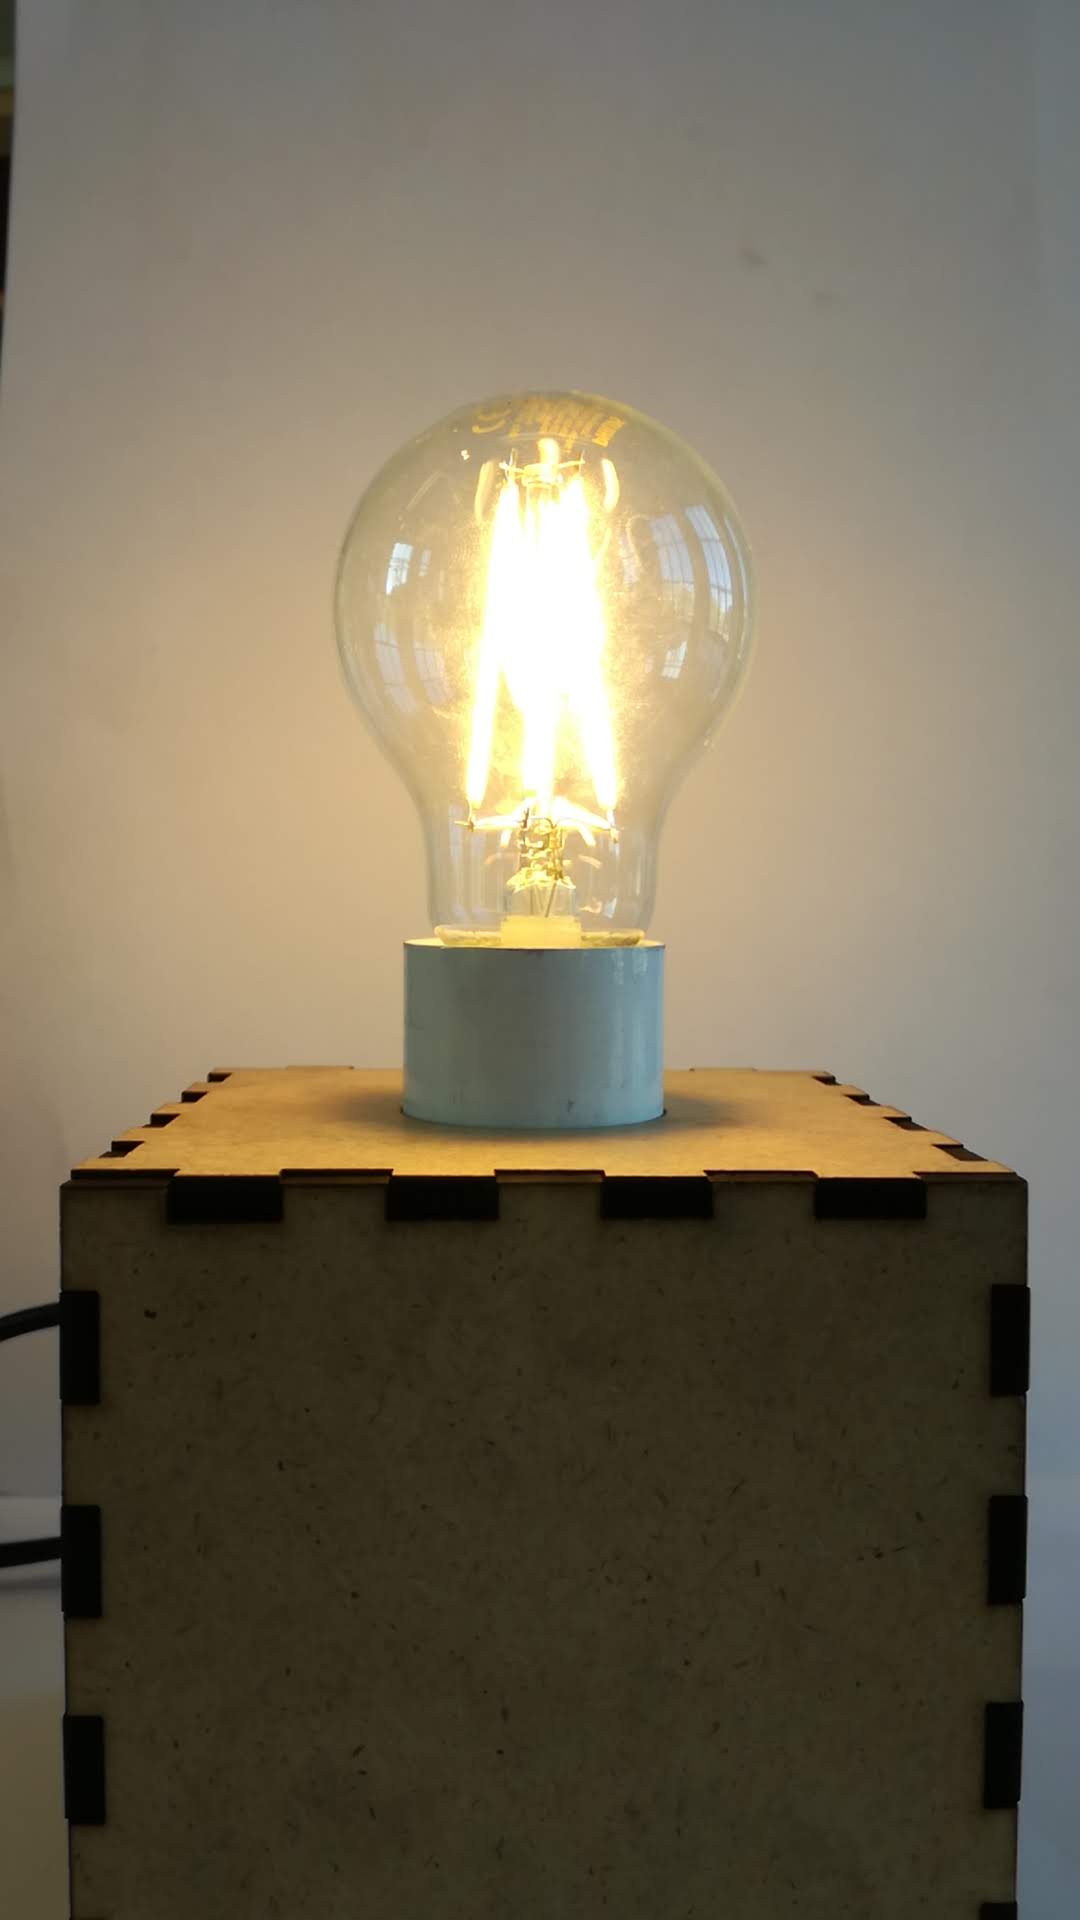
I present to you
The lamp that will 'hygge' with you as long as you air out properly
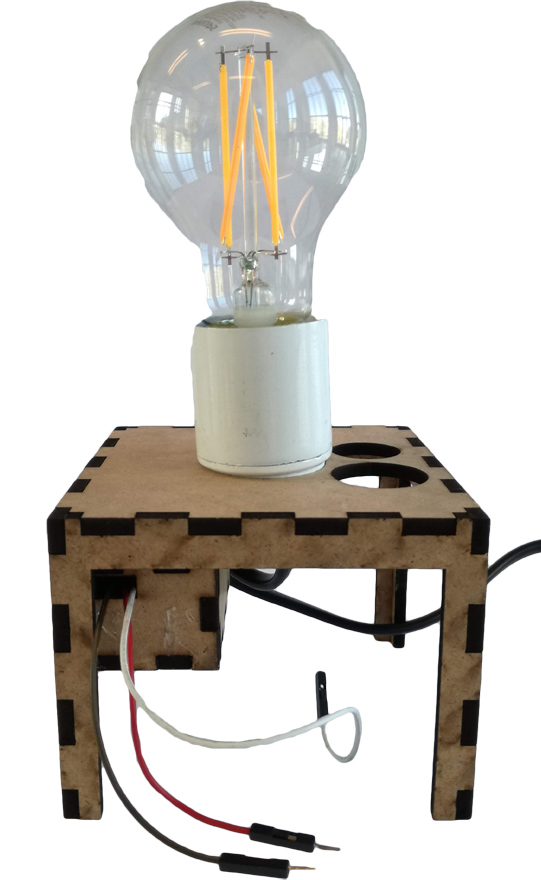
Technical Function:
To change to brightness of the lamp (lightbulb) according to the consentration of ultrifine particles ( 0.3um < SIZE OF MEASURED PARTICLES > 1.0um) in the air.
Critical Function
Approximately 60% of the particle pollution in the Danish homes comes from burning candles. Lighting a candle is closely related to the Danish term 'hygge' roughly described as cosiness. This device will illuminate its suroundings to an exstend where it's not cosy anymore as the consentration of unhealthy ultrafine particles rise. It's a subtle reminder to air out when having burning candles, fire in the wood stove or cooking.
Main components needed
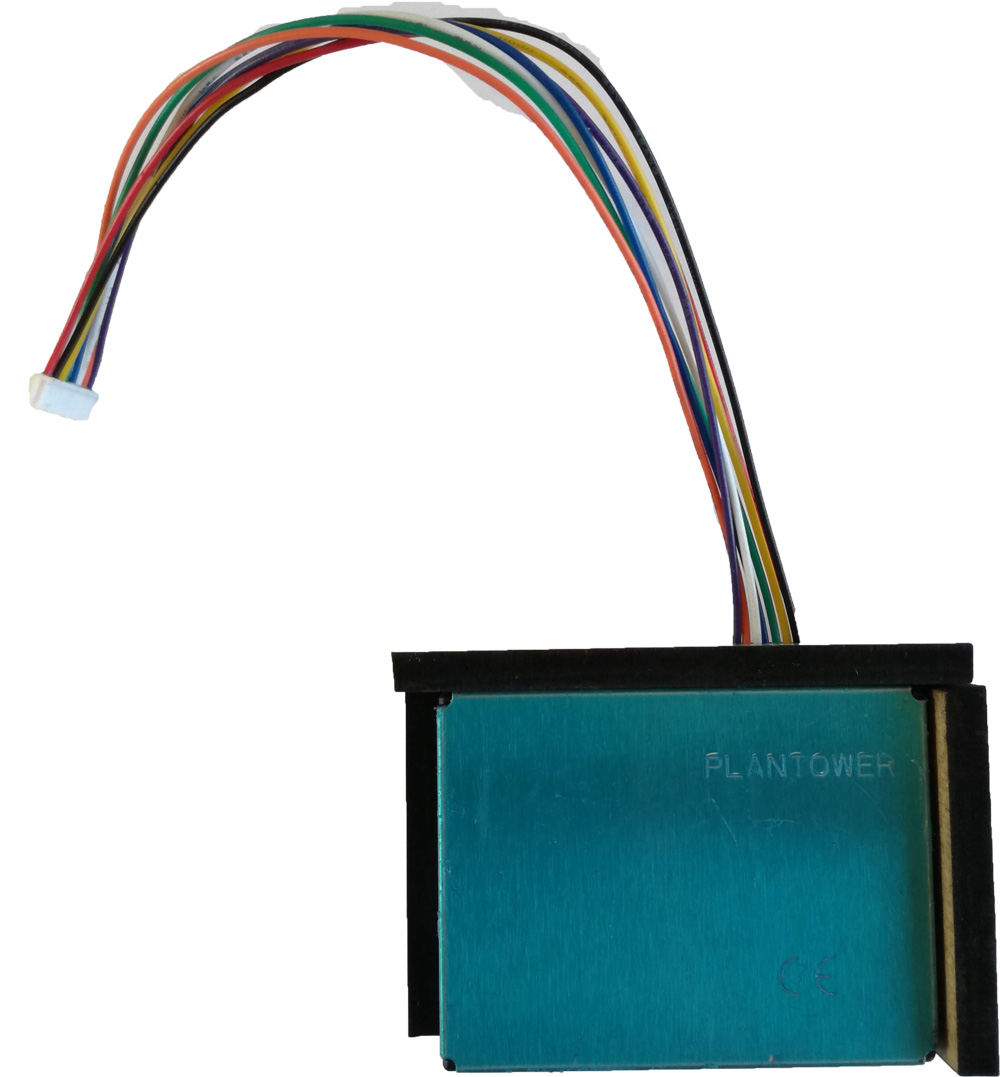
PM2.5 Air Quality Sensor
Code + instruction
- https://learn.adafruit.com/pm25-air-quality-sensor/overview
To be bought at
- https://www.floris.cc/shop/en/home/2046-pm25-air-quality-sensor-and-breadboard-adapter-kit-pms5003.html
Philips Sceneswitch Lightbulb
Instruction
- https://www.lighting.philips.dk/consumer/valg-en-pare/sceneswitch
To be bought at
- https://www.elgiganten.dk/product/husholdning/belysning/8718696588840/philips-3-scene-switch-led-lyspare-e27
5VDC 10A Single Channel Relay Module
Datasheet: https://www.fecegypt.com/uploads/dataSheet/1522335719_relay%20module.pdf
To be bought at
- https://www.lightinthebox.com/da/p/arduino-5v-relaemodul-for-scm-udvikling-home-appliance-kontrol_p903299.html?currency=DKK&litb_from=paid_
adwords_shopping&country_code=dk&utm_source=google_shopping&utm_medium=cpc&adword_mt=&adword_ct=200277131468&adword_kw=&adword_pos=1o1&adword_pl=&adword_net=g&adword_tar=&adw_src_id=5397878464_855496294_46247644267_aud-346682122756:pla-326257014178&gclid=CjwKCAjwv6blBRBzEiwAihbM-fi3alwMMvbqFbXgHmVt7HbPTXisbj3p5hwg7usK_5t3Xkb_ejkxCxoCzDoQAvD_BwE
Soo... coding was just a walk in a park, right?
That was my starting point for this task. And when you look at the code as of now, you would probably not se all the struggle behing it. But it took hour after hour to make this work. Not only of my time but also almost everybody elses. I will there give a warm thanks especially Kaj, Rick, Moritz, Wouter, Shiley and Loes who all helped me way more than they should. But I can honestly in the most true overdramatised hollywood-style way say that this project wouldn't have been possible withput the help I have recieved from you <3
Reading info: Everything above this line has been written before or in the beginning of the project whereas the writings below is made and presented in the belated wisdom.
The brilliant part of this code is also in particular found in the front loop that makes the computer/Arduino read the same passage of code a certain number of times before preceding. This makes the initial 'resetting' of the lightbulb so that no matter from which stage it's coming from it will always be reset to 100% power and hereafter regulated to the specefic stage
The if statement says that if the present stage is not the same as the previous stage then it should preceed. It this part wasn't incorperated the computer would just jump to the same stage over and over again in the same paste as the sensor values are recieved even though within the same thresholds.
The initial 'resetting' needs only the lightbulb to be turned on-off-on-off for it to reset whereas the comment is wrong. The actual number of 'run throughs' would therefor be 2 (or 1 since it also include 0 as stated here
You will see that the number of particles per 0,1 L is multiplied for certain sizes. The explanation and calculations for this are to be found below the actual code.
A little insight about what whent ahead of the above
I started out by making the curcuit (Se picture below) So far that good - and pretty easy to be honest. The code for the sensor worked easily and at did moment I got foolhardy and thought "Why not only make a 230V device turn on/off but actually control it".
I found this lightbulb that could be dimmed by turning it on/off and thought that combined with the relay this could actually work. Thereby I had also choosen that it wasn't just a random piece of electronic that was to be connected: It was a lamp. Had I just kept it to my original plan I would probably had put much more effort into the aesthetics of the product instead of the technicalities.
Anyway, when making the sensor work I did a little testing on my surroundings to get an impression of the differences in the level of particles at different sizes
Burning a sponge with a soldering iron
Burning paper with soldering iron
Our classroom on a god day particlewise
My room after a nights sleep and toasting bread
My windowsill when opening to air out
My room after approximately 5 mins of airing out
In generel my conclusions to that where
1) Wauw, the air is really shitty at my place particle wise.. I need to air out.
2) The smaller particles are the most common
3) The burning stuff isn't the real issue. Smouldering things at the other hand. These things are really poluting!
Especially the sizes of the particles struck me: I needed to measure not only one size but several. For being able of comparing them 1 to 1 I made certain calculations. I simply took the assumption that a particle is the shape of an sphere (Yeah yeah - you scientist are gonna laugh..) and found a ratio based on mass.
Based on that, one "> 1.0um-particle" therefore equals 37 ">0.3um-particle" and one ">0.5um-particle" equals 8 ">0.3um particles" whereas I ended up multiplying the larger particles for 'making them into >0.3um-particles' figuratively speaking.
CODE GITHUB
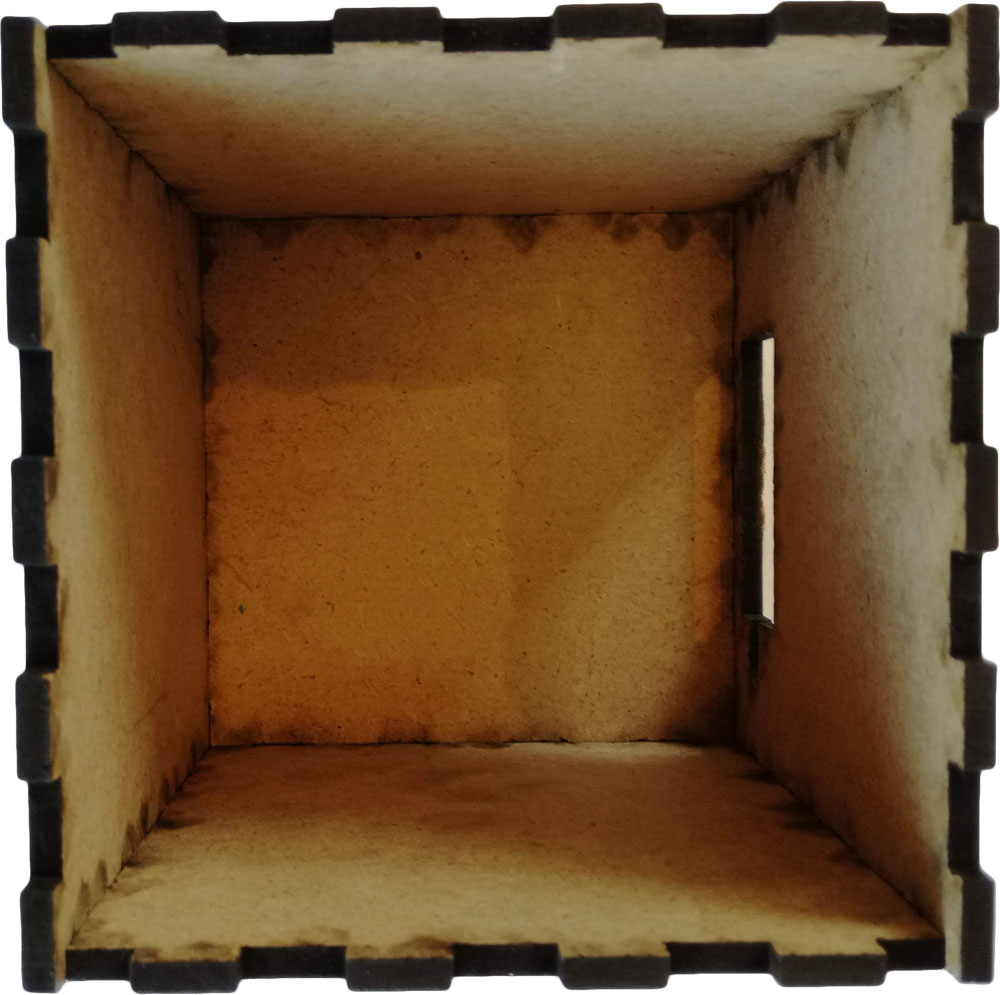
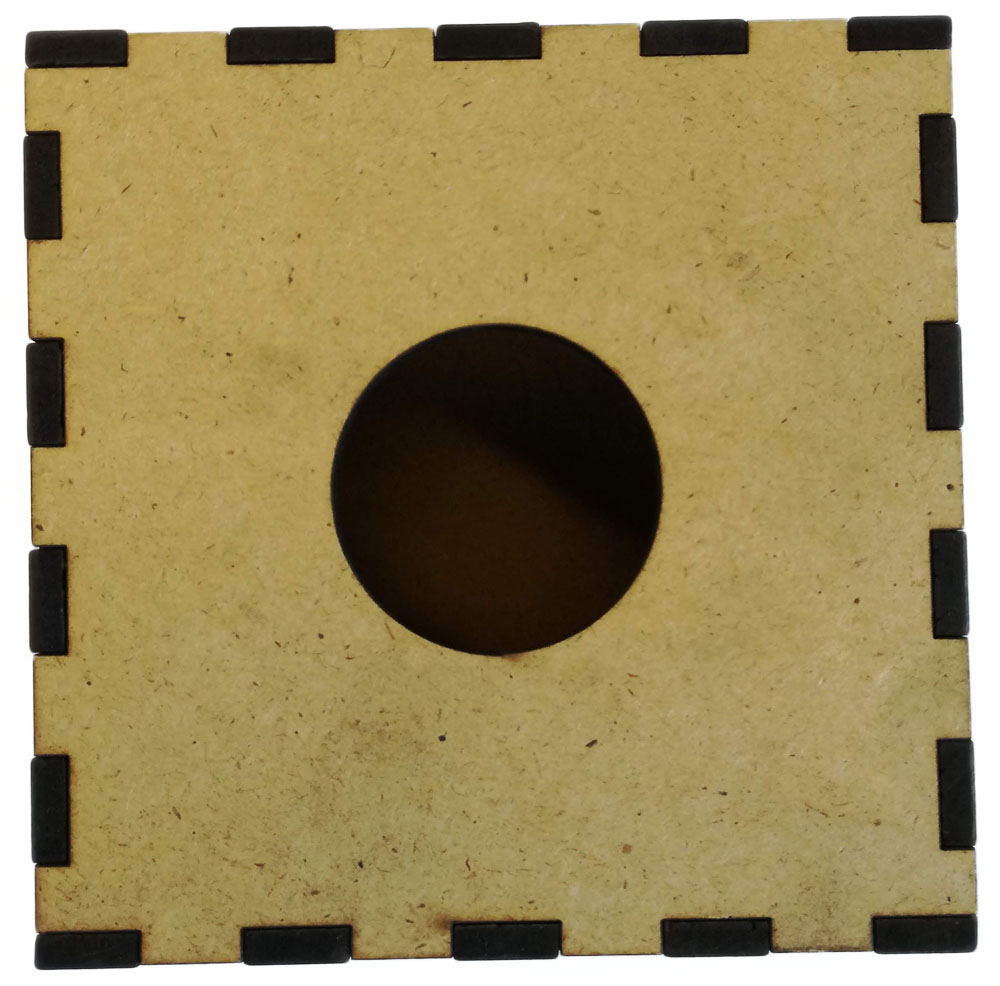
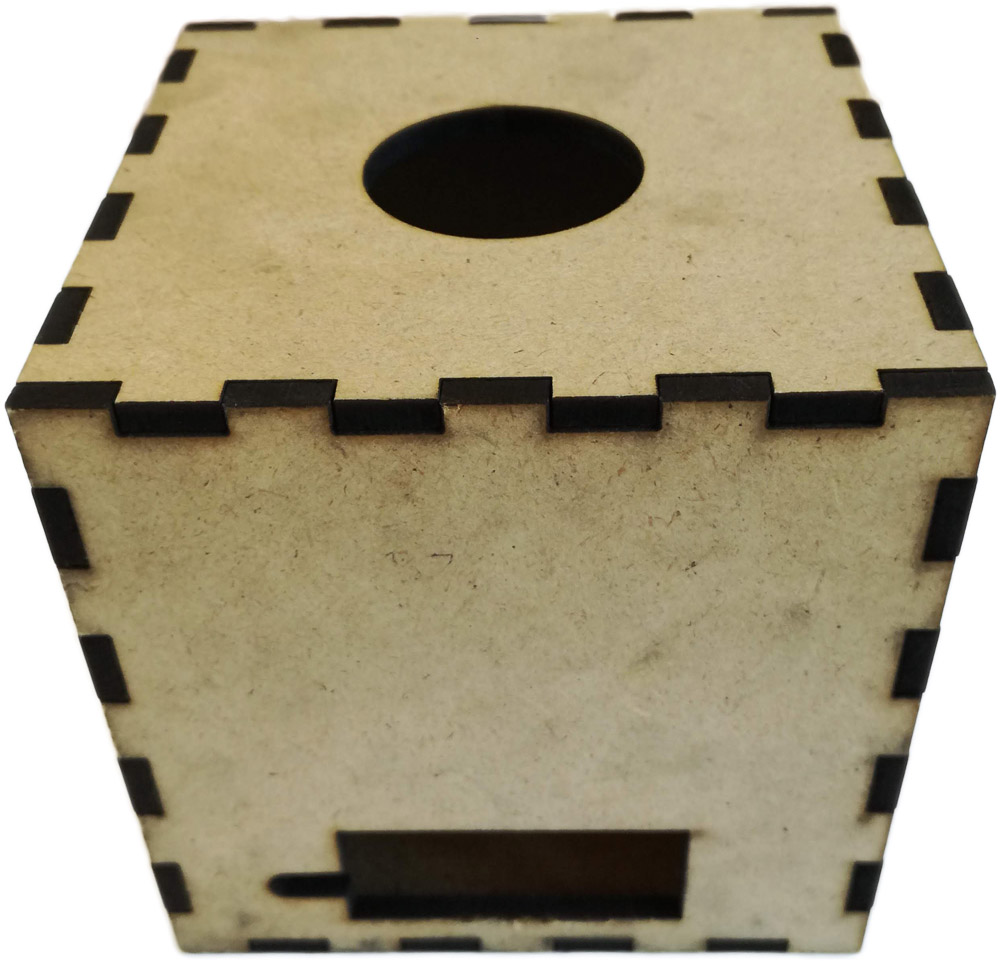
Design files for 'lamp body'
The struggle is real
This made me think of the structure of the code writing it down as pseudo code.
The lightbulb that I had at that time didn't have a 'resetting feature' which complicated the work a lot. Because how do you make the computer know in which stage the lightbulb is in?
To that question there are to immediate solutions:
The first one is to make the lightbulb go through all stages and in that more 'analogue' way turning it back to it's starting position. That means if the level of particles is changing, the computer should 'finish' the cycle and the total number of clicks (one click = on/off) should always be 6 within each stage.
The second option was to make a predescribed setting for each possible move. In that case it would require a specific piece of code for 'the click traveling' between e.g. from 100% to 25% - and another one for moving between 50% to 100% and so on and so forth.. This could either be done manually as Kaj tried to make a template for or as an algorithm - which I certainly wasn't capeable of making myself.
I and others spend almost four days on these possible solutions when a talk to my clever dad made me go shopping for another lightbulb that had build-in the opportunity of resetting it with 4 clicks.
The solution I came up with was the first of the mentioned above: to always go through all stages.
That would have worked with the initial lightbulb IF - and it's here that I ran against the wall. I simply wasn't capeable of making a code that had a sequence to be executed when leaving a stage. The issue is that whenever the level of particles change, the computer automaticly goes directly into a new stage without finishing the one that it's leaving. What otherwise seemed as a simple solution was simply not possible. That's also why you se the resetting in my final code in the beginning of each stage.
The amount of clicks it would take to go through all stages with the initial lightbulb (but actually the same principal with the later one. That one just had a way of resetting it in addition)
I teamed up with Neza during spontanious circumsstances. We both wanted to use electronics without having any developed skills within the area, so it wasn't a logical choice in rational world. However, I personally felt that teaming oficially up with a 'programmer' would be to put on too much of my project/problems in the hands of my team mate. I originally also wanted to do a prober collaboration working on one project, but as Neza and I's projects where so far from each other and since we both have strong opinions upon our work, it seemed better to use each other as morale support than working on one project.
I will instead return to my credits given for all the help that I have recieved with the coding. It was so fun - in the 'funny perculiar-way' more than the 'funny haha' - how different even the programmes within this minor would handle the issues appearing, and their solutions also were many and different. I have definitly experienced how it's possible to code the same features in a hundred difference ways but that it takes skills for not ending up making spagetthicode.
Especially is it a great risk if you as I maybe only understand 70-90% of the selections of code that I have incorporated concerning the relay, the sensor, the lightbulb, the for loop etc. When mentioning collaboration actually a lot of people have contributed, but being a poor programmer I haven't given credit in the code itself. Therefore I will here list the links to the snippets of codes and tutorials that I have been using for this project that doesn't come from the manufacturer. I have scrolled across many that I unfortunately no longer have account of, but these have been the most valuable to me.
Relay
- http://www.circuitbasics.com/setting-up-a-5v-relay-on-the-arduino/
- http://robojax.com/learn/arduino/?vid=robojax-relay2
- https://www.youtube.com/watch?v=ZGBeilb7ZPE
For loop
- https://startingelectronics.org/software/arduino/learn-to-program-course/07-for-loop/
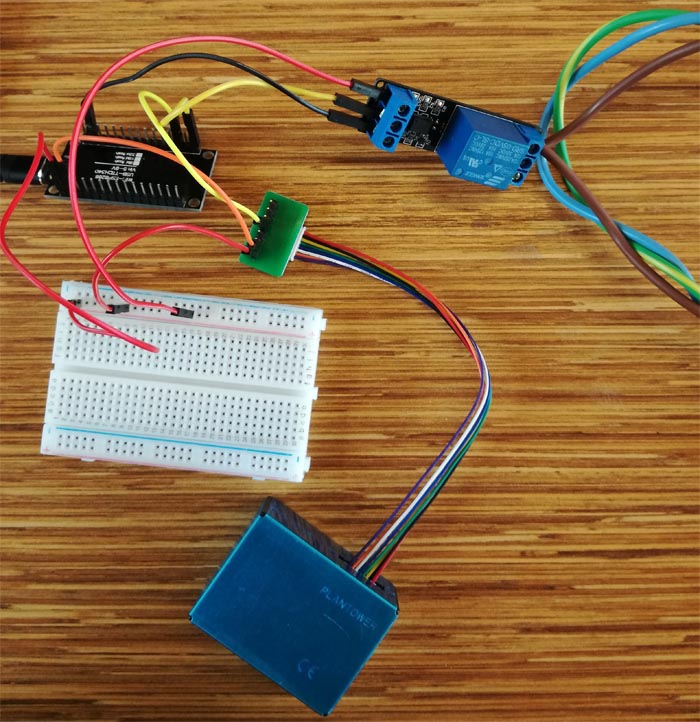
When I first made my circuit just to make the sensor and the relay work seperately there were to major things that I changed later on.
1) The relay is not the same here as on the final. Actually I spend a lot of time wondering why the relay said the 'clicking' sound and the onboard LED shined when activated. Though measuring 230V input/output without being able of seeing any circulation, I didn't came to the conclusion that it could be caused by a technical failure within the relay. I simply trusted the components reliability too much. But finaly changing it to another one after hours of struggles and wonders fixed it.
2) In the beginning I used the small PCB boards from China. It was extremly unreliable but since it worked I didn't dare to change it. At some point it though stopped for good, and I haven't regretted using a real Arduino ones!
Collaboration
The aftermath
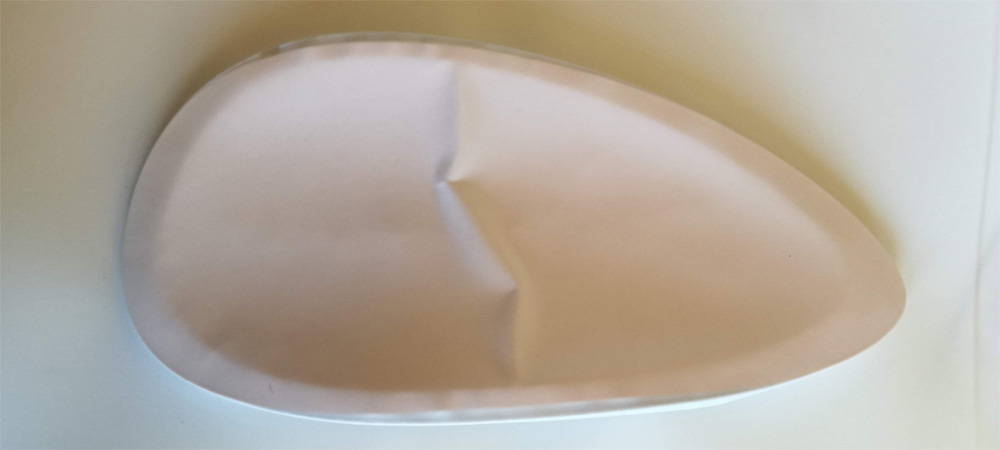
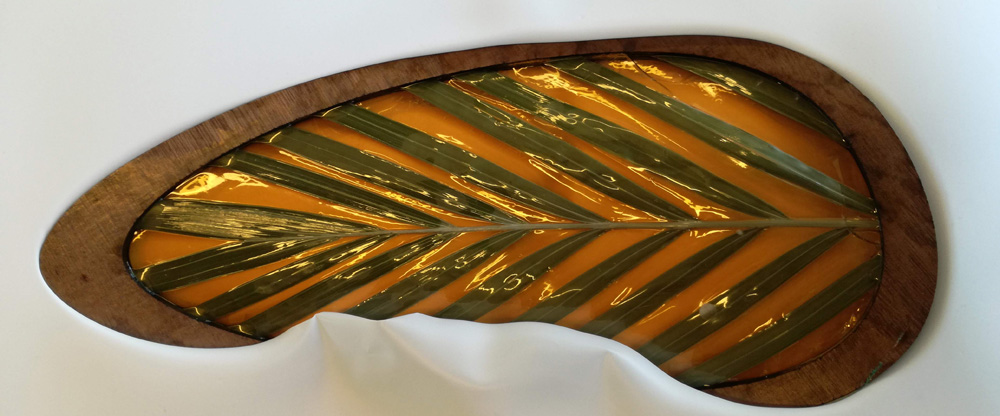
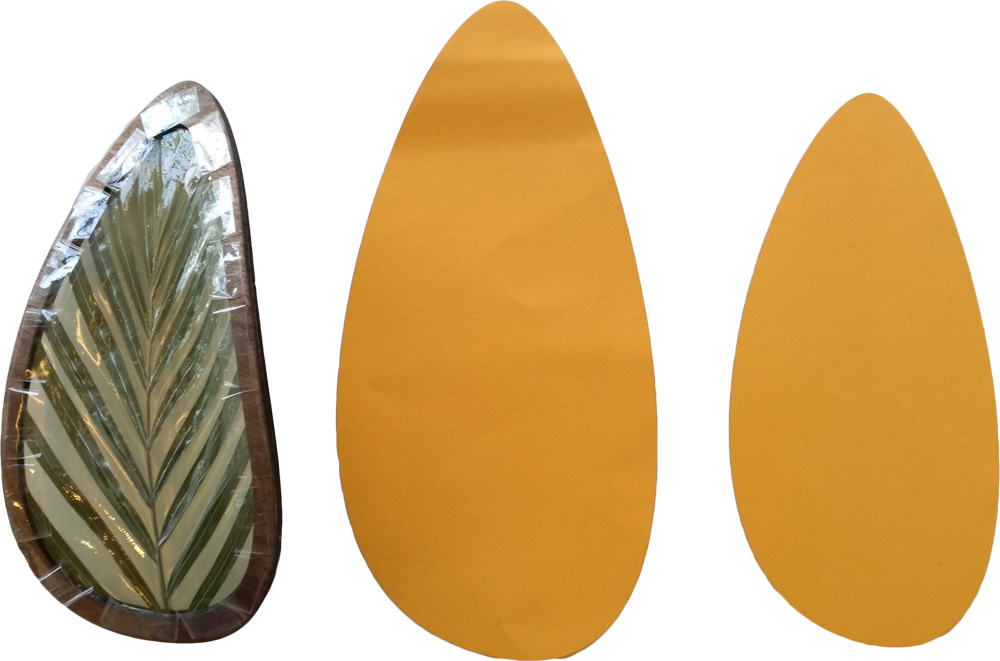
I orginally intented only to make the sensor work with a relay with a universal plug. Then a lightbulb - and then again an actual lamp. The status as of know is, that the lamp isn't pretty at all or cosy. But I'm not going to change change that. I acutually tried to come up with ideas of how to make it a pleasant lamp and I actually also did certain tests and preperations. My intension was to use the 'leaf shaped' frame + bioplast that I made a long time ago as the lamp shade. It was supposed to stand up in and angle og 70-80 degres as an egg or a tear drop with the back side made in white plastic casted over a clay mold. Friday the 5th prepared this as seen in the pictures. Unfortunately, I broke the frame/bioplast even though I had taken precausions when making a cast of if for shaping the clay. But it wasn't that drawback that made me stop. The thing that is I'm currently stressing quite a bit over the fact that I have to find a suitable internship for my next semester. It ain't easy and takes a alot of mental surplus. I have therefore decided actually to be true to my fifth (un)learning value; pragmatism. Or just plain to lower my expectations. In this case it means to make prioritise things that eventually are more important to my future. It's usually not my style, and I would really like to have a nice output from this project. But having codewise already reached more than my initial thought this is where I will stop. But it's a shame, no doubt. A fine 'packaging' would have made the impression of the project go up by a least a factor two.
Over and out
//Asle

Scientific foundation for the project
- https://pubs.acs.org/doi/abs/10.1021/es402429h
- https://videnskab.dk/krop-sundhed/nye-maalinger-partikler-fra-stearinlys-kan-vaere-lige-saa-farlige-som-dieseludstoedning
- https://samvirke.dk/artikler/stearinlys-ultrafine-partikler-forurener-din-stue
-https://politiken.dk/forbrugogliv/boligogdesign/hjemmet/art5609629/Vi-forurener-selv-vores-hjem-med-skadelige-partikler
- https://ing.dk/artikel/stearinlys-udleder-dobbelt-saa-mange-ultrafine-partikler-paraffinlys-197149
/artikel/stearinlys-udleder-